skinMakeup Tips and Advice For Acne Prone Skin
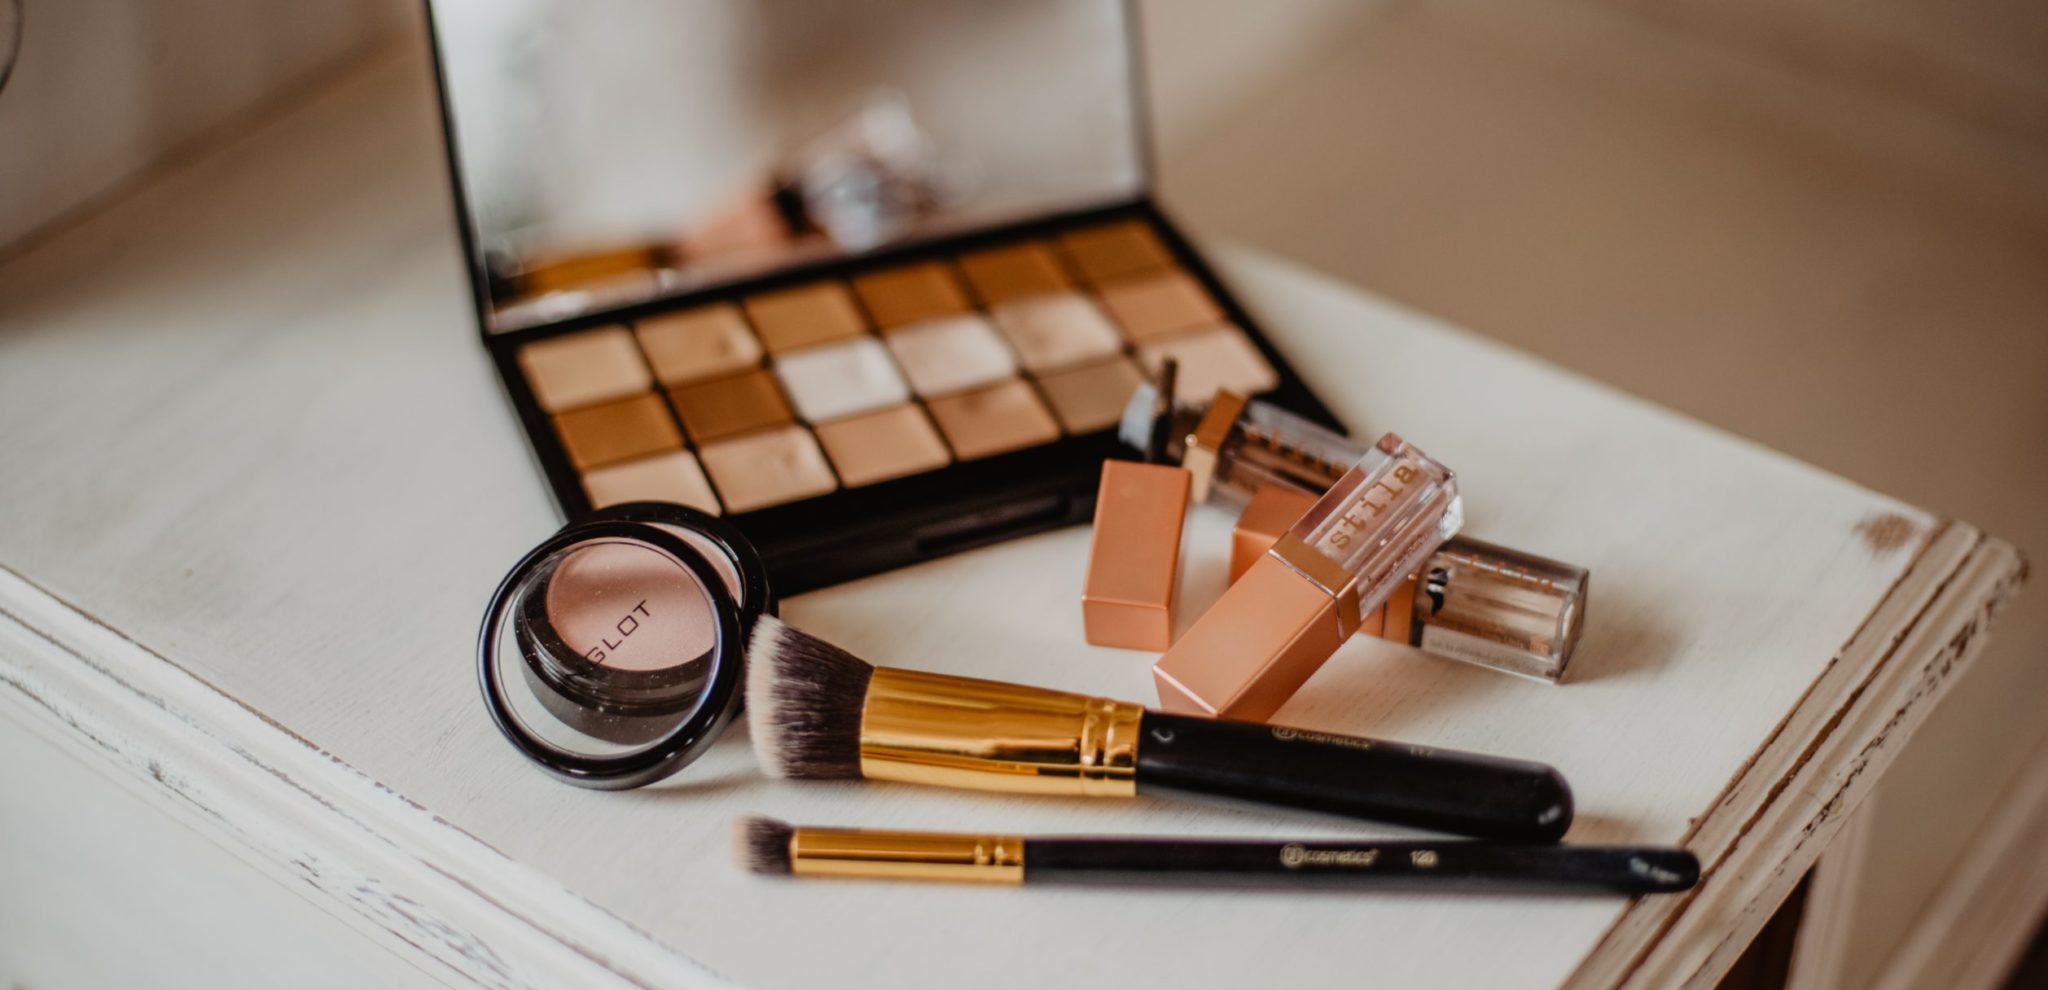
This time last week I was supposed to be doing a workshop for makeup tips for acne-prone skin, as this isn’t able to happen due to the current situation, I have decided to write down a few tips and tricks for anyone who has acne and put it out there, I hope some of you find it useful.
This time last week I was supposed to be doing a workshop for makeup tips for acne-prone skin, as this isn’t able to happen due to the current situation, I have decided to write down a few tips and tricks for anyone who has acne and put it out there, I hope some of you find it useful.
Primers
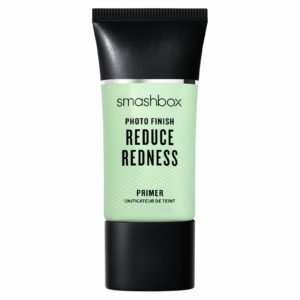
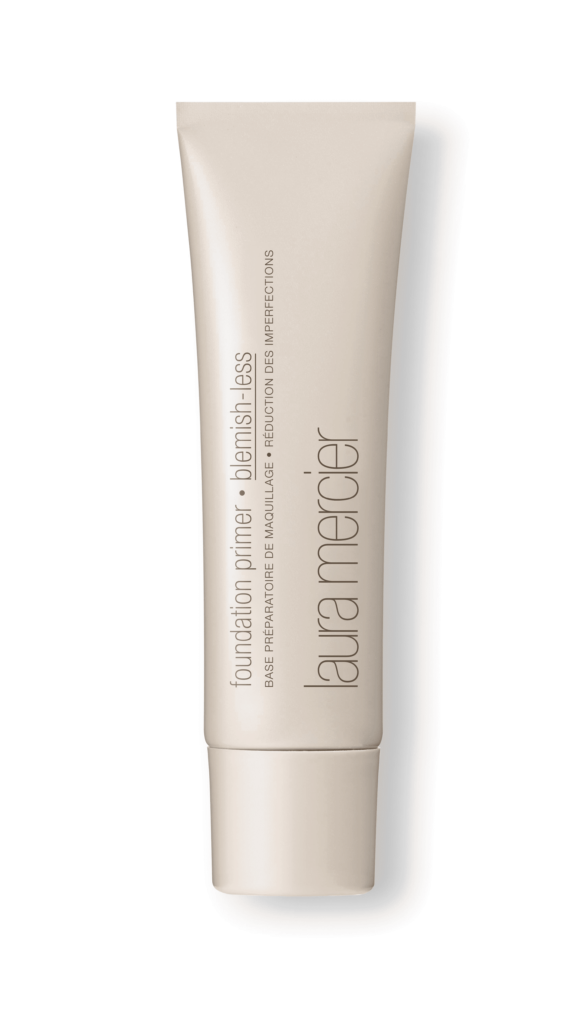
Prepping the skin is key, a lot of people with acne can refrain from using a primer as they are worried it will block their pores, this doesn’t have to be the case primer is fine for you to use, just make sure you go for a primer which is non-comedogenic, this means the product has been formulated to avoid causing clogged pores and is most of the time oil-free.
The primer will keep your make up on for longer and give your make up look a smoother finish, it will also act as a barrier between the skin and your foundation, stopping the foundation from clogging any pores.
I have a few different primers in my kit, my top 3 would be:

Concealer
Concealing should be done before your foundation, concealing correctly will not only allow you to use less foundation but you could also get away with using a lighter coverage foundation. When choosing a concealer for blemishes it’s important to remember that this concealer will need to be different from a concealer you would use on dark circles. Concealer used under the eye should be more lightweight and creamy, where a concealer to use on your blemishes would need to be a heavier more matte texture.
If you have red inflamed acne I would recommend using a colour corrector before applying concealer (a colour correcting primer is great as it works as both a primer and will help colour correct the redness) A green colour corrector is great to use over redness. Yellow and peachy toned concealers work as well and are good to use to cover dark spots.
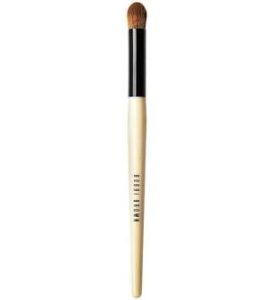
When applying concealer over acne I would advise using a brush, fingers can be quick and easy to use but will melt the product away and you won’t get as much coverage or an as seamless look as you would using a brush. A still brush is ideal to use, apply a small amount of product directly to the blemish, and blend out any excess product.
The last step, but one of the most important and probably the most forgotten would be to set the concealer using a translucent powder, this sets the concealer in place and stop it moving when you apply your foundation on top.
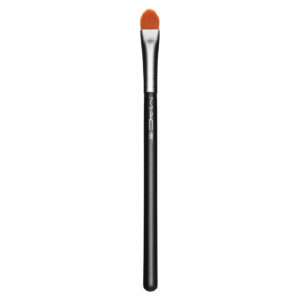
I would recommend any short firm concealer brush but the ones I use are Bobbi Brown Full Coverage and MAC 195 brushes:
Foundation
Sponge or Brush? Both are great but by using a brush it is better to cover more targeted areas and more concentrated placement of the products. To get maximum coverage for foundation using a brush, I would advise using a short, firm stipple foundation brush, this is great to really push the foundation into the skin giving a heavier coverage.
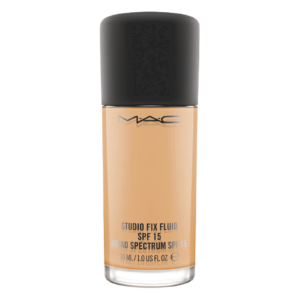
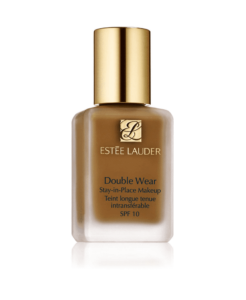
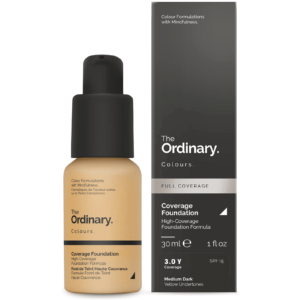
A few of my favourite foundations for maximum coverages are:
Contouring
PREP – Ensure you have a good base, having an even coverage to work on will make contouring a lot easier, once you have primed, concealed (set) and then applied foundation make sure to set the whole look using a translucent powder, this is very important to do as it will lock the foundation and stop it moving and undoing all the prep when you start to contour.
I would advise using a matt bronzer to contour, avoid sheen as this will reflect off and draw attention to any uneven and textured skin. When you apply your bronzer use an angled powder brush and work the bronzer into the hollow of your cheekbone, sweeping out. Because you have set your foundation this should not move and allow you to really buff and blend your bronzer into the areas you want to contour, like your jawline and sides of the nose, remember the bronzer will create a shadow so apply to areas you want to appear smaller and more defined.
Once you have applied your bronzer then you can move on to highlighter, a cream highlighter works well and you can apply this with either a brush or gently push on using your ring finger. When you apply this think of where you want to look more pronounced, this is normally also where the sun would naturally hit the face. This would most likely be top of the cheekbones, bridge of the nose and quite often finish off on the cupids bow of your lips.
Setting Your Makeup
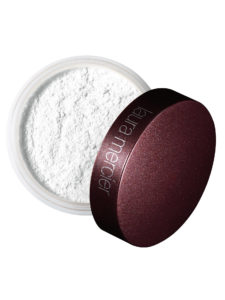
Always finish your makeup off by setting it, you can either use a setting spray or powder, by doing this it will create a longer-lasting coverage and you won’t need to top up as much throughout the day. You could use any translucent powder to set the makeup, my favorite is Laura Mercier Translucent Powder, this is great as you can use it to set your concealer and foundation as well and will last you ages.
If you decided to use a setting spray, I would still advise a translucent powder to use between stages when you set your concealer and foundation:
Fake Tanning
When you are fake tanning, it can be tempting to fake tan your face as it can help hide acne, however, I would try and avoid doing this as some fake tans can make the skin more oily and block pores which can cause further breakouts and make the skin condition worse which won’t help in the long run. If you fake tan and your foundation needs to be darker you can purchase liquid bronzers which you can mix into your foundation saving you money on having to buy different shades.
Makeup Removal
Removing makeup at the end of the day is essential and especially if you suffer from acne. First, you need to remove your make up, begin with using a gentle oil-based cleanser, this will help breakdown and oil-based products and remove the makeup. Follow up with a water-based face wash to make sure you have removed any leftover product. Then you can go ahead and moisturise to finish the rest of your skincare routine